Battle of Gemas
The bridge over the Sungei Gemencheh was made of wood, barely wide enough for a column of soldiers to cross in any order. On the morning of January 14, 1942, Japanese troops of the 5th Division advanced along the road from Tampin toward Gemas, pushing south through Malaya at a pace that had stunned the Allied defenders for over a month. They had every reason to feel confident. Since landing in northern Malaya and southern Thailand on December 8, the Japanese had swept aside one defensive position after another. What they did not know was that Australian soldiers were waiting in the thick bushland on either side of the road, with the bridge as their killing ground.
Black Jack's Trap
Lieutenant Colonel Frederick "Black Jack" Galleghan commanded the 2/30th Battalion, part of the 27th Brigade of the Australian 8th Division. His orders were to mount an ambush on the main road, 11 kilometers west of Gemas, and halt the Japanese advance south. Galleghan chose the Gemencheh Bridge as his site -- a natural chokepoint where the road crossed the river and then entered a long cutting through dense jungle. He deployed one company in the forward ambush position, five kilometers ahead of the battalion's main body. The terrain was ideal: thick bushland pressed close to the road on both sides, and the bridge funneled approaching troops into a narrow corridor. The Australians concealed themselves and waited. It was the kind of position that a well-disciplined force could hold long enough to inflict devastating casualties before withdrawing.
Ninety Seconds at the Bridge
When the lead elements of the Japanese 5th Division reached the bridge and began crossing, the Australians held their fire until the road was packed with soldiers. Then the ambush opened. The first volleys tore into the Japanese column at close range, catching troops in the open with nowhere to take cover. The cutting through the bushland became a kill zone, with fire pouring in from both flanks. Japanese soldiers who survived the initial fusillade scrambled for the jungle, but the Australians had prepared their positions well. The fighting was fierce and chaotic, the kind of close-quarters jungle combat that would define the Pacific War. By the time the engagement broke off, nearly 800 Japanese troops had been killed, wounded, or left missing. It shattered the morale of hundreds more who had grown accustomed to easy advances against retreating defenders.
A Victory That Could Not Hold
The Australians withdrew through Gemas to the Fort Rose Estate, having accomplished what they came to do. Their own casualties were comparatively light: more than 88 killed, wounded, or missing, against almost ten times that number inflicted on the enemy. It was the second and last Allied tactical victory of the entire Malayan campaign. Yet the larger strategic picture had not changed. The Japanese advance down the Malay Peninsula was temporarily slowed, not stopped. Galleghan's battalion had bought time, but the forces needed to exploit that time did not exist. The British and Commonwealth defense of Malaya was already collapsing under the weight of Japanese air superiority, superior jungle tactics, and a series of flanking movements that turned one defensive line after another.
The Road to Singapore
The Battle of Gemas was part of the wider Battle of Muar, a series of engagements along the western coast of Malaya in January 1942. Even as the Australians were springing their ambush at Gemencheh Bridge, Japanese forces were pressing hard at Bakri and other positions along the Muar River. The 22nd Australian Brigade fought another ambush north of Jemaluang, and the fighting withdrawal from Muar cost both sides heavily. None of it was enough. Within weeks, the surviving Allied forces had been pushed back to the island of Singapore, where the largest British surrender in history would take place on February 15, 1942. The tactical skill shown at Gemas was real, but it could not reverse a campaign that had been lost almost from its opening hours.
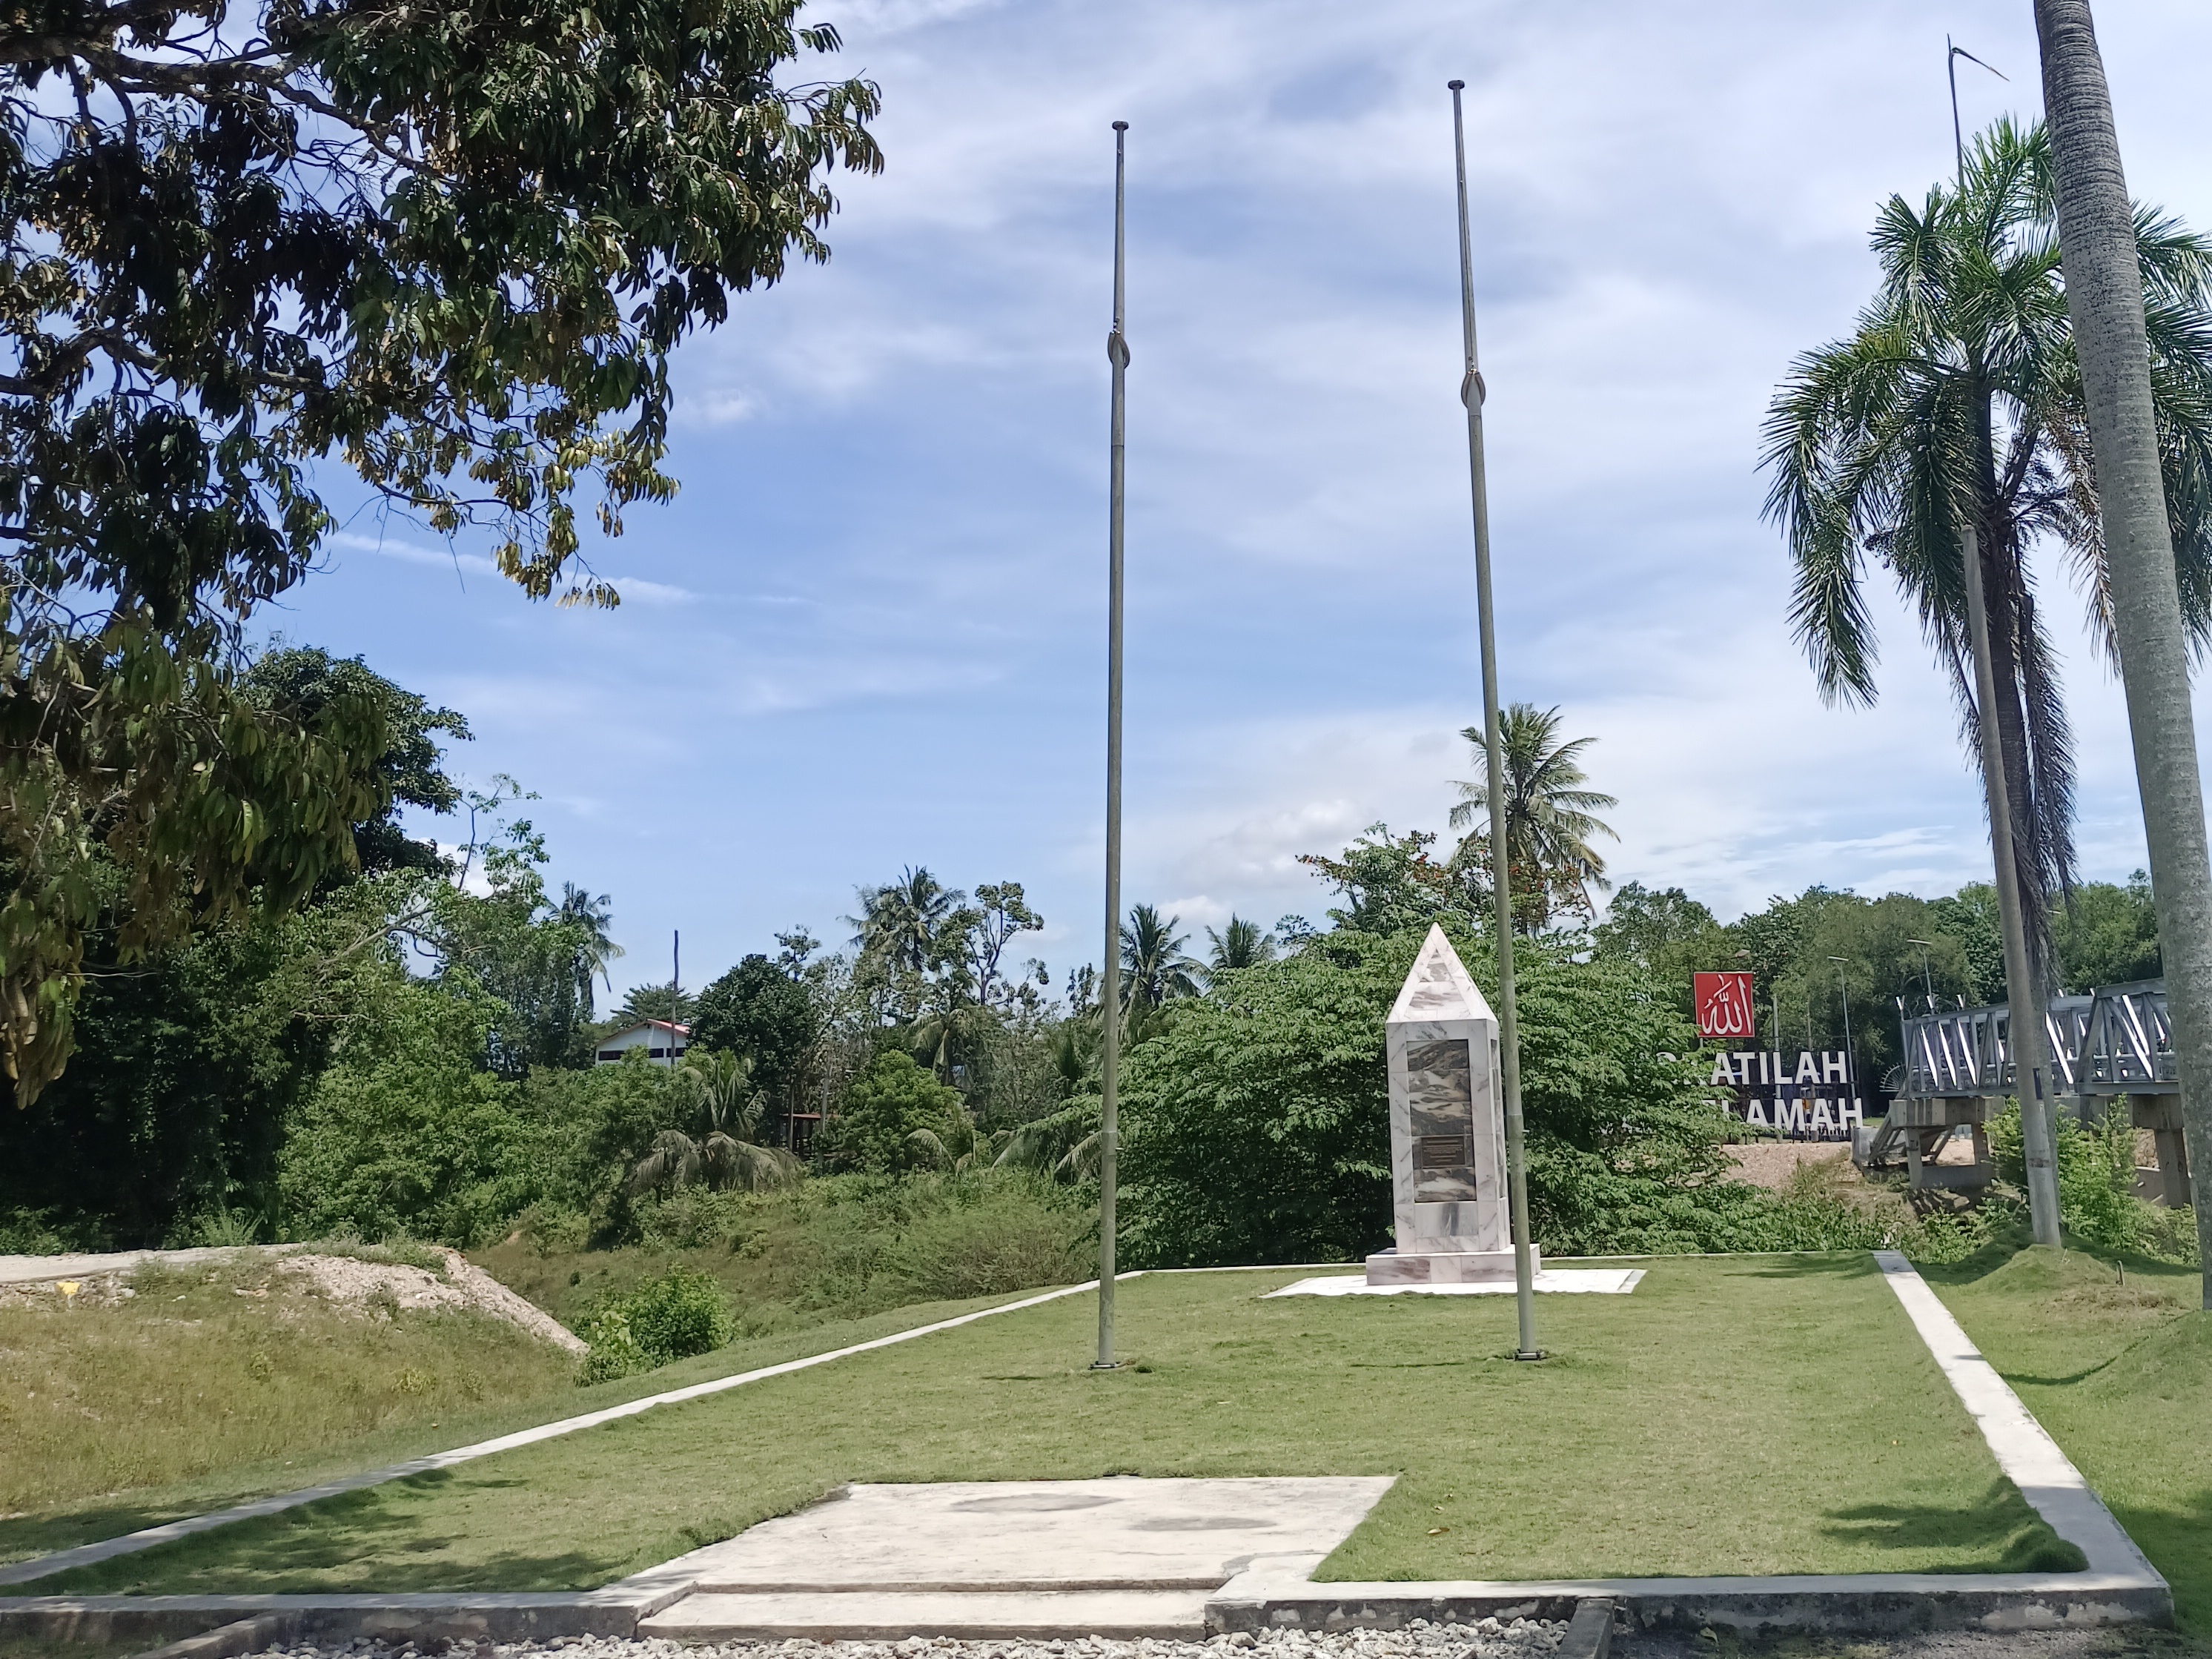
A Footnote Remembered
For decades, the Battle of Gemas remained a footnote in the broader narrative of the fall of Malaya and Singapore. The speed and scale of the Japanese conquest overshadowed individual actions, however effective they might have been. A documentary bearing the battle's name has since helped bring the engagement wider attention. The Gemencheh Bridge site sits in the Negeri Sembilan countryside today, surrounded by the same thick vegetation that gave Galleghan's men their advantage. The soldiers of the 2/30th Battalion who survived Gemas went on to endure the fall of Singapore, and many spent the rest of the war in Japanese prisoner-of-war camps. Those who made it home carried with them the memory of a morning when the jungle worked in their favor, and a wooden bridge over a small river briefly reversed the tide of an unstoppable advance.
From the Air
Located at 2.58N, 102.58E in the state of Negeri Sembilan, peninsular Malaysia, between the towns of Gemas and Tampin. The terrain is low-lying jungle and plantation land along the main north-south road corridor. No major airport nearby; Kuala Lumpur International Airport (WMKK) is approximately 130 km to the northwest. The Sungei Gemencheh river crossing is the key landmark. Best viewed at 3,000-5,000 ft AGL. The road from Tampin to Gemas follows the approximate route of the Japanese advance.