Battle of Isandlwana
Twenty thousand warriors sat in silence. For two days they had hidden in the Ngwebeni Valley, just five miles from the British camp at the foot of Isandlwana hill, waiting for the new moon. On the morning of 22 January 1879, a British mounted patrol crested the ridge and spotted them - row upon row of Zulu regiments, sitting motionless in the grass. The element of surprise was gone, but the Zulu army rose as one and advanced anyway. Within four hours, over 1,300 British and colonial soldiers lay dead on the slopes below Isandlwana's sphinx-like rock face, their camp overrun, their ammunition spent. It was the worst defeat the British Army had ever suffered at the hands of an indigenous force, and it happened because a confident imperial power underestimated the people it had invaded.
An Ultimatum Designed to Fail
The Anglo-Zulu War was not inevitable. Sir Henry Bartle Frere, the British High Commissioner for Southern Africa, manufactured the conflict. In December 1878, he presented King Cetshwayo with an ultimatum so extreme it demanded the effective dismantling of Zulu society: abolish the military system, admit Christian missionaries, accept British supervision. Frere knew Cetshwayo could not comply. He wanted war, and the discovery of valuable minerals in the region had given London fresh reason to consolidate control over southern Africa. When the ultimatum expired on 11 January 1879, Lord Chelmsford marched three columns into Zulu territory. The centre column crossed the Buffalo River at Rorke's Drift and, on 20 January, pitched camp at the base of Isandlwana hill without entrenching - a decision born of confidence that would prove fatal.
The Horns of the Buffalo
The Zulu army deployed in its traditional formation: the 'horns and chest of the buffalo.' The chest - the main body of veteran regiments including the uMcijo and uKhandempemvu - would pin the enemy in place, while the left and right horns swept around the flanks to encircle them. It was a formation perfected under Shaka Zulu decades earlier, and it required extraordinary discipline to execute. The warriors carried assegai stabbing spears and cowhide shields; some had muskets, though most were antiquated. Against them, the British wielded Martini-Henry rifles, two 7-pounder mountain guns, and a Hale rocket battery. On paper, the technological advantage was overwhelming. On the ground at Isandlwana, it was not enough. Chelmsford had split his force that morning, taking roughly half his men to pursue what he believed was the main Zulu army. He left Lieutenant Colonel Henry Pulleine in command of the camp with about 1,800 troops - spread too thin across too wide a front.
The Camp Falls Silent
When the Zulu regiments appeared over the escarpment around noon, the British firing line extended more than a mile. The Martini-Henrys took a heavy toll - hundreds of warriors fell as they advanced through open ground. But the horns kept sweeping wide. Colonel Anthony Durnford's force on the right flank ran low on ammunition and was forced to withdraw. The right horn of the Zulu army poured through the gap. Within minutes, the extended British line collapsed inward. The fighting became hand-to-hand, assegai against bayonet, in the camp itself. Quartermasters struggled to distribute ammunition from screwed-down boxes. By mid-afternoon it was over. Approximately 1,300 troops were killed, along with perhaps 400 civilians. The Zulu also suffered grievously - an estimated 1,000 to 2,500 warriors died, many cut down by rifle fire during their advance.
The Weight of the Dead
Chelmsford's column returned to Isandlwana that evening to find the camp destroyed. Tents were slashed, wagons overturned, and the dead lay scattered across the hillside. Lieutenant Horace Smith-Dorrien, one of the few British officers to survive, wrote of the scene with stunned brevity. The Zulu dead lay in windrows where the rifle fire had been heaviest. Among the British fallen were Lieutenants Teignmouth Melvill and Nevill Coghill, killed trying to save the Queen's Colour of the 1st Battalion, 24th Regiment, at what became known as Fugitives' Drift. Their bodies were found months later beside the Buffalo River. Both were posthumously awarded the Victoria Cross. Chelmsford, desperate to deflect blame, publicly accused Colonel Durnford of disobeying orders to entrench the camp - a claim historians have since disputed. The fault lay with Chelmsford himself: he divided his forces, left the camp unfortified, and failed to reconnoitre the ground where 20,000 warriors waited in plain sight.
Isandlwana's Shadow
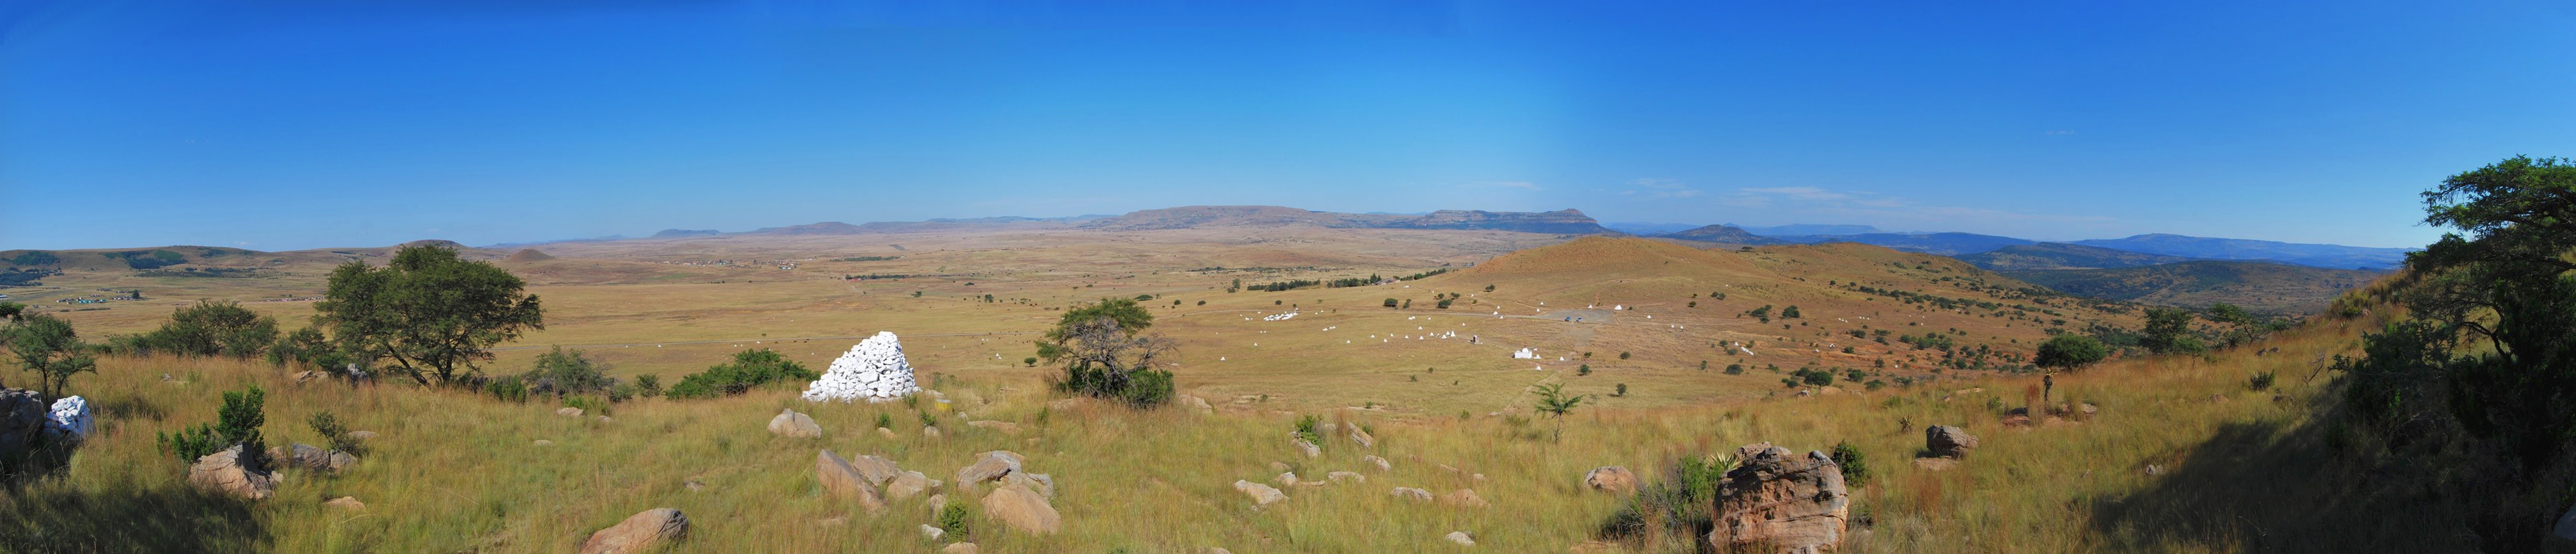
From the air, Isandlwana hill resembles a crouching sphinx, its rocky profile unmistakable against the rolling KwaZulu-Natal grasslands. White cairns mark British mass graves. A separate memorial honours the Zulu warriors who fell that day. The battlefield remains largely unchanged - the same plain, the same escarpment, the same hill whose name derives from the isiZulu word for the shape of a cow's second stomach. The battle shattered the myth of British military invincibility and forced London to pour reinforcements into the war. But the warriors who died at Isandlwana were fathers, sons, and the backbone of a sophisticated military society. Their victory bought time, but the second British invasion, with 25,000 troops, would prove unstoppable. Isandlwana endures as a reminder that the cost of empire was paid by soldiers on both sides who bled into this quiet African hillside.
From the Air
Located at 28.36S, 30.65E in rural KwaZulu-Natal, South Africa. Isandlwana hill is a distinctive sphinx-shaped rock formation visible from altitude, with white memorial cairns dotting the slopes below. The battlefield extends across open grassland to the north and east of the hill. The Buffalo River lies approximately 10km to the west (Fugitives' Drift). Nearest airports: Ulundi (FAUL) approximately 70km northeast; Richards Bay (FARB) approximately 170km southeast; King Shaka International, Durban (FALE) approximately 280km south. Elevation approximately 1,200m ASL. The area is generally clear with good visibility, though summer thunderstorms can develop rapidly in the afternoon.