Battle of Polygon Wood
"We are living through truly abominable days." The words came from Albrecht von Thaer, Chief of Staff of a German corps, written in his diary on September 28th, 1917. He had no idea what to do about the British limited-objective attacks and their devastating artillery support. At Polygon Wood, the Allies had found something the German Army could not counter: a method of advance that traded depth for certainty, capturing ground in measured bites that could be held against the fierce counter-attacks that had previously reclaimed so much of what the British won.
The Butte and the Broken Forest
Polygon Wood had once been a Belgian military exercise ground, its geometric shape giving it its name. By September 1917, the huge bombardments from both sides had transformed it into a cratered wasteland, though scattered trees still stood like broken teeth. At its heart rose the Butte, a large artificial mound that had been part of a pre-war rifle range. The Germans had fortified it with dugouts and foxholes, making it a strongpoint in their fourth defensive position. From the Butte, observers could see the entire eastern end of the Gheluvelt Plateau toward Broodseinde. To control the Butte was to control the approaches to the ridges beyond. The 5th Australian Division was tasked with taking it.
Five Layers of Steel
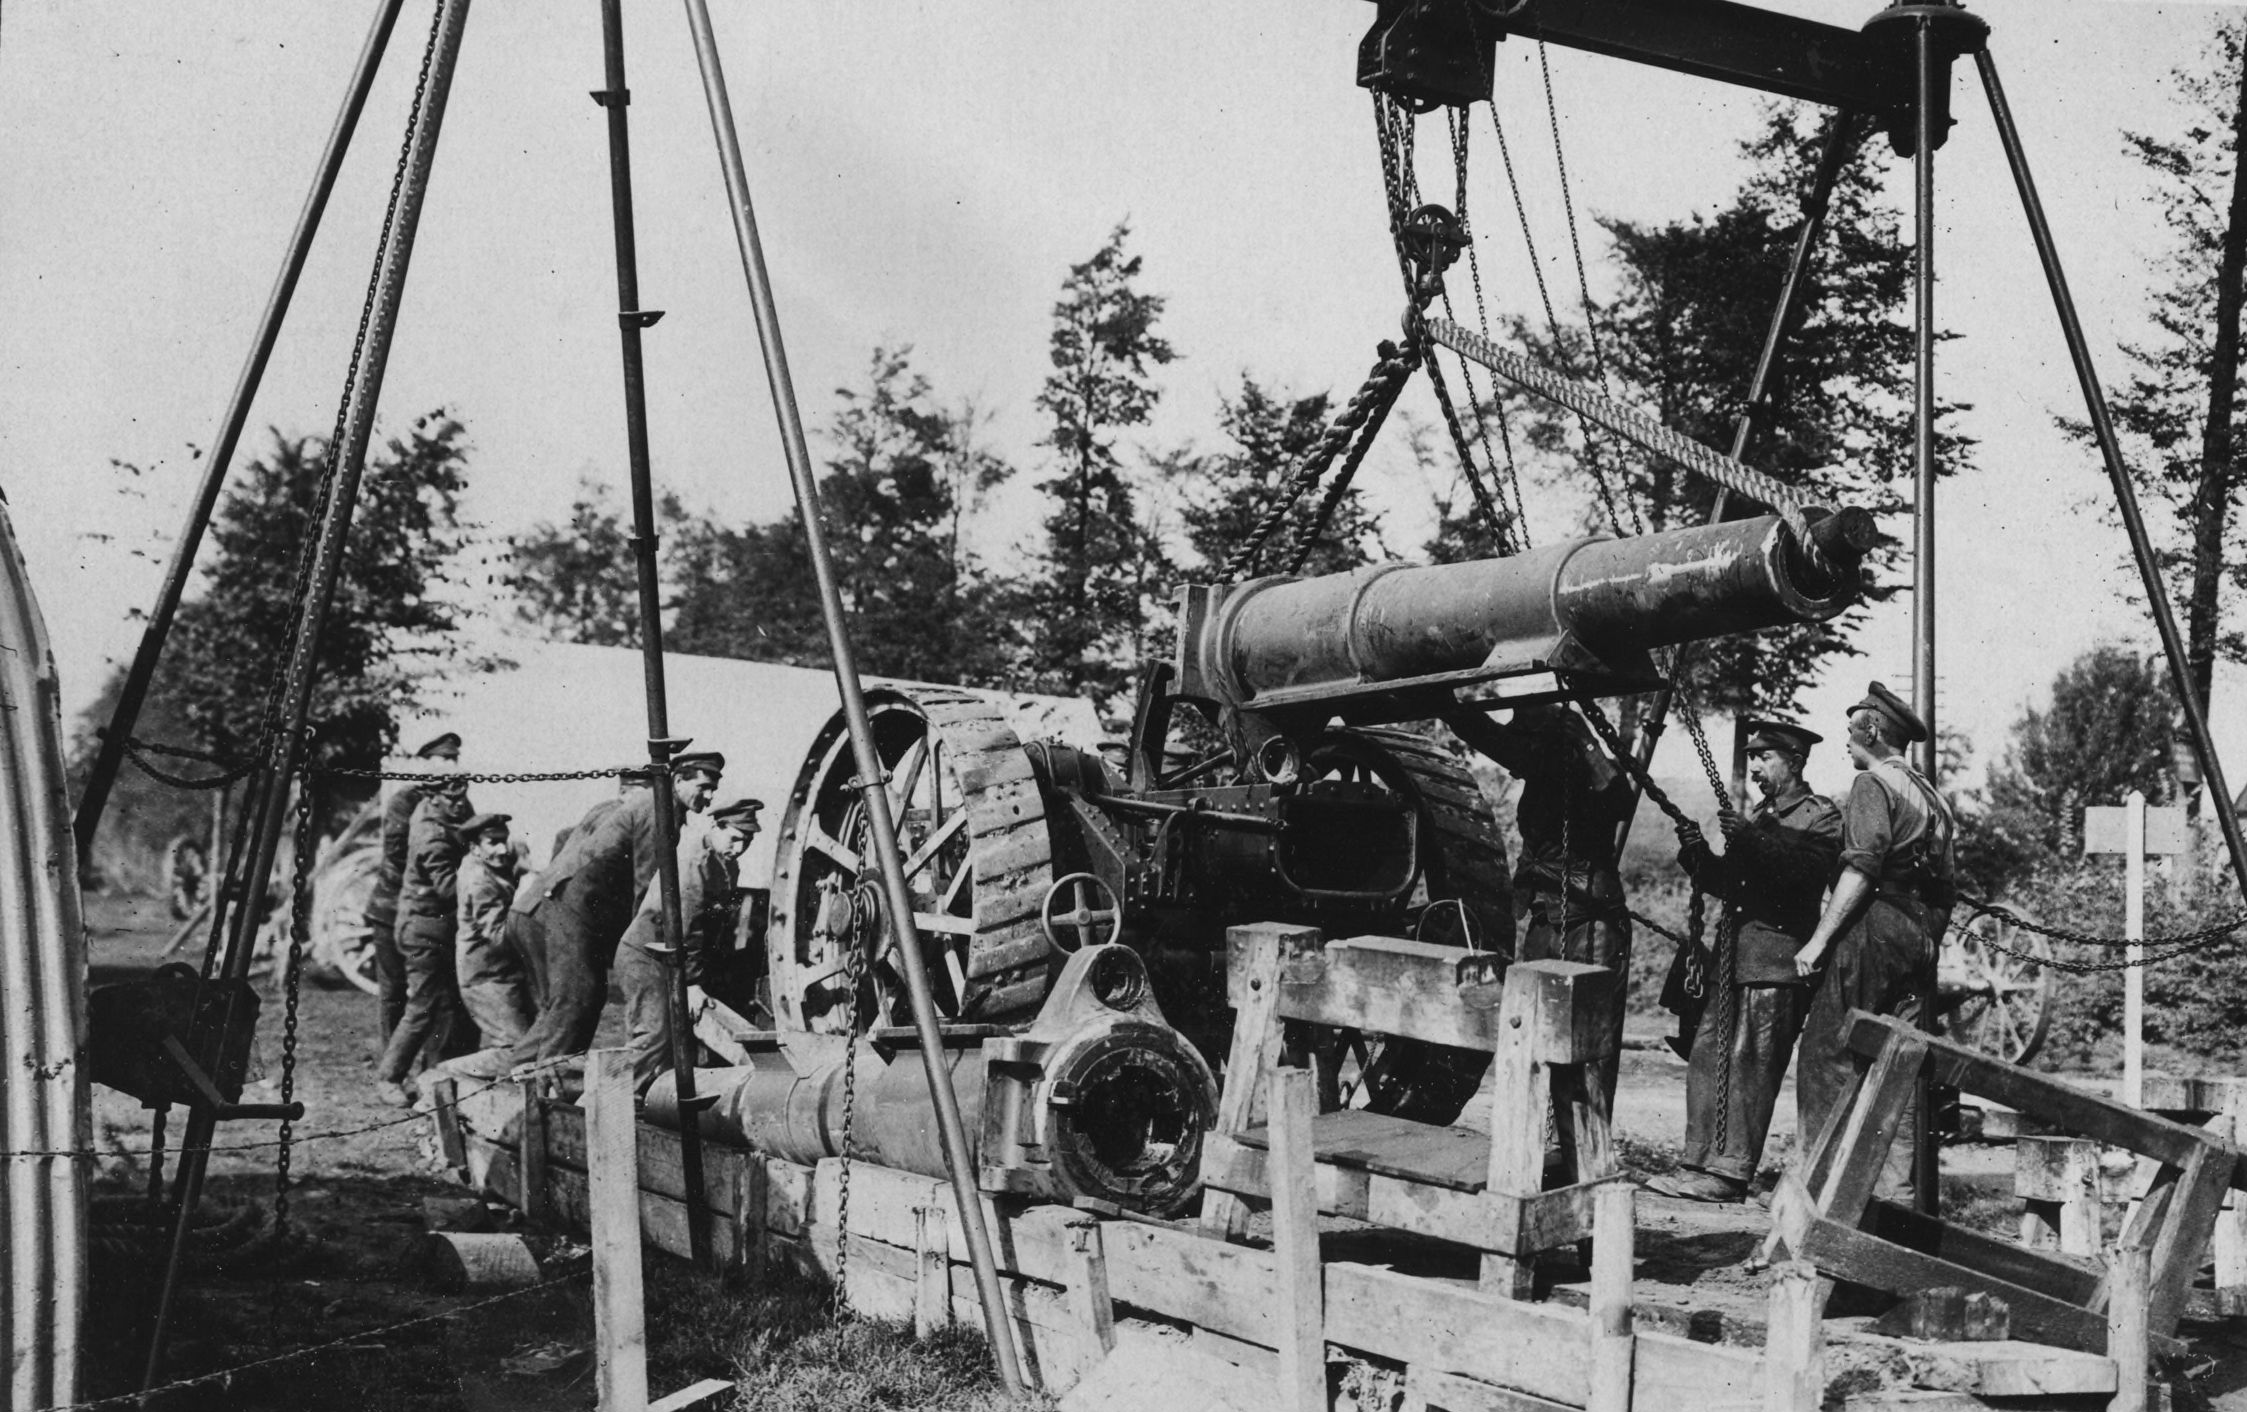
General Herbert Plumer's Second Army had learned from the costly failures of August, when unseasonal rains and determined German counter-attacks had clawed back hard-won ground. For the September attacks, British artillery preparation reached unprecedented intensity: five layers of creeping barrage on the Second Army front alone. Field artillery, medium guns, heavy howitzers, machine guns firing overhead, and even smoke combined to create a curtain of destruction that walked forward at a pace the infantry could follow. The I Anzac Corps had assembled one gun for every few yards of front. Behind this wall of fire, the infantry would advance in new formations: lines of skirmishers ahead, small groups ready to swarm around pillboxes, dedicated mop-up parties to ensure no bypassed Germans could emerge to fight again.
Through the Mist to the Mound
At 5:50 AM on September 26th, the barrage came down. Early morning mist obscured the advancing Australian infantry from German observers, but would lift later to reveal the German counter-attacks to British spotters. The timing was fortuitous. The left brigade of the 5th Australian Division assembled in twelve waves on a strip of ground only 150 yards deep, so compressed they actually avoided the German counter-barrage that fell behind them. They advanced through the fog almost unopposed to the Butte. At some pillboxes there was resistance, but many German soldiers surrendered when rapidly surrounded. The Butte itself was rushed and found to be honeycombed with German dugouts. Prisoners and machine guns were taken in quantity. By mid-morning, most British objectives had been secured and consolidated.
The Counter-Attacks That Failed
The German defensive system relied on counter-attack divisions held back specifically to retake lost ground. On September 26th, three such divisions advanced toward Polygon Wood: the 236th, the 234th, and the 4th Bavarian. British aircraft on counter-attack patrol spotted them as they crested Broodseinde ridge and sent wireless warnings. Artillery immediately bombarded the approaches. A German officer later wrote of severe delays and disorganization caused by the bombardment and air attacks. The counter-attacks arrived piecemeal, exhausted, and met well-dug-in infantry backed by machine guns. They "collapsed in ruins," in Thaer's words. From September 27th to October 3rd, the Germans launched at least seventeen counter-attacks against the newly won positions. All failed.
A Crisis Without a Solution
The German high command recognized that something fundamental had changed. Ludendorff had no answer. Loßberg, the defensive specialist, was equally baffled. On September 28th, Hindenburg decided to revert to holding the front line in greater strength, abandoning the elastic defense that had worked so well earlier. Ammunition consumption was unsustainable. Even on quiet days, the 4th Army fired more shells than the entire army group received in daily resupply. The 3rd Reserve Division had experienced desertions and refusals of orders. British casualties were significant but manageable. The Australians had captured their objectives while taking fewer losses than the defenders. Today, Polygon Wood has regrown, smaller than in 1917 but still substantial. Deep among the trees lie the remains of three German pillboxes captured by the Australians. The Butte still rises at the wood's heart, now crowned by the 5th Australian Division memorial.
From the Air
Located at 50.852N, 2.985E in the Ypres Salient, West Flanders, Belgium. The wood is visible from low altitude approximately 5km east of Ypres (Ieper). The Butte with its Australian memorial is the highest point within the wood. Two Commonwealth War Graves Commission cemeteries lie nearby: Polygon Wood Cemetery and Buttes New British Cemetery, the latter containing the New Zealand Memorial to the Missing. The Menin Road (N8) runs just south of the wood. Nearest airports: Kortrijk-Wevelgem (EBKT) 15km south, Ostend-Bruges International (EBOS) 40km northwest.