Battle of the Malacca Strait
The torpedo control officer aboard HMS Venus had the shot. It was 01:05 on 16 May 1945, and the Japanese heavy cruiser Haguro was racing past at close range through the rain-lashed darkness of the Malacca Strait. Eight torpedo tubes were trained on the target. But the angle settings were wrong -- every one of them. Venus heeled hard to port, the opportunity gone. What happened next, though, turned a botched attack into a masterpiece of naval tactics. Haguro, believing torpedoes were in the water, turned south to evade them -- and drove herself deeper into the trap that five British destroyers had spent all night preparing.
A Cruiser Running Errands
By the spring of 1945, the Imperial Japanese Navy was a shadow of its former strength, and its remaining warships had been reduced to unglamorous roles. Haguro, a Myoko-class heavy cruiser armed with 200mm guns and capable of 36 knots, had been operating as a supply ship since April -- ferrying provisions to isolated Japanese garrisons across the Dutch East Indies and the Bay of Bengal. In early May, she was ordered to evacuate the Japanese garrison at Port Blair in the Andaman Islands and return it to Singapore. It was a mission that would take her through waters increasingly dominated by the Royal Navy's Eastern Fleet, operating from Trincomalee in Ceylon. British codebreakers had intercepted the Japanese naval signals. They knew Haguro was coming.
Two Attempts Through the Strait
On 9 May, Haguro left Singapore escorted by the destroyer Kamikaze. The Royal Navy dispatched Force 61 from Trincomalee to intercept. But the Japanese received an air reconnaissance warning and turned back before the trap could close. Five days later, on 14 May, Haguro and Kamikaze tried again. This time, aircraft from Force 61 found them. Grumman Avenger torpedo bombers of 851 Naval Air Squadron attacked the cruiser, but the results were disappointing -- only minor damage to Haguro, and one British aircraft lost, its crew captured by the Japanese. The air attack had failed to stop the cruiser, but it had confirmed her position and course. Captain Manley Power, commanding the 26th Destroyer Flotilla, was ordered to finish the job. His force consisted of five destroyers: Saumarez as flotilla leader, and the V-class ships Venus, Verulam, Vigilant, and Virago.
Lightning and Radar
The night of 15-16 May brought heavy rain squalls and lightning -- conditions that favored radar-equipped ships over those relying on visual lookouts. Venus picked up Haguro on radar at 34 nautical miles and the five destroyers arranged themselves in a crescent cordon, a net drawn wide enough to let the Japanese ships sail into the center before closing. It was a classic destroyer ambush, the kind of action that surface warfare officers trained for but rarely executed so cleanly. When Venus's torpedo attack misfired at 01:05, the mistake paradoxically improved the British position. Haguro turned south to comb the expected torpedo tracks, a standard evasive maneuver that carried her directly toward Saumarez and Verulam. The Japanese cruiser appeared off Saumarez's port bow at 6,000 yards -- roughly three and a half miles -- both ships closing at 30 knots.
The Kill
What followed was violent and fast. Kamikaze appeared off Saumarez's starboard bow at just 3,000 yards, nearly on a collision course. Saumarez's forward guns struck the Japanese destroyer with their second salvo, and 40mm Bofors shells raked her 320-foot length as the British ship heeled to starboard. Haguro answered with a broadside -- eight 200mm and four 120mm guns -- but the damage to the British was limited. At 01:25, Venus finally landed a torpedo. Two minutes later, Virago stopped Haguro dead in the water with two more torpedo hits. For nearly an hour, the five destroyers poured gunfire into the crippled cruiser. Vigilant added another torpedo. Venus struck twice more. At 02:06, Haguro rolled over and sank. The destroyer Kamikaze, damaged but still mobile, escaped into the darkness. Operation Dukedom was complete.
The Wreck and Its Fate
Haguro settled on the seabed of the Malacca Strait at a depth accessible to salvage divers. For decades she lay undisturbed, a war grave holding the remains of the sailors who went down with her. In 2010, a British-led expedition surveyed the wreck and documented its condition. But by 2014, illegal salvagers had reached the site, tearing apart the hull for scrap metal -- a fate shared by numerous World War II wrecks across Southeast Asian waters. Malaysian authorities halted the salvage operation, but significant damage had already been done. The Battle of the Malacca Strait was one of the last major surface engagements of World War II, fought just three months before Japan's surrender. For the five destroyers of the 26th Flotilla, it was a textbook demonstration of coordinated night tactics -- a battle won not by superior firepower but by radar, patience, and the discipline to let the enemy come to them.
From the Air
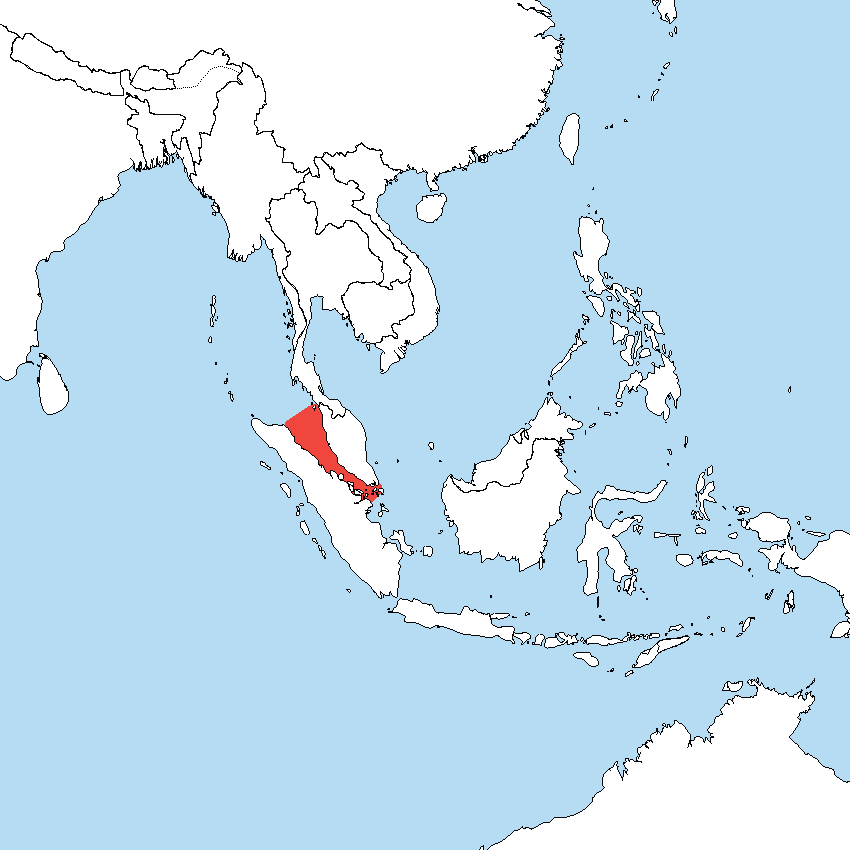
Located at approximately 4.00°N, 100.00°E in the Malacca Strait between the Malay Peninsula and Sumatra. The battle occurred in the waters off Penang. Nearest airports include Penang International (WMKP) and Sultan Abdul Aziz Shah Airport (WMSA). At cruising altitude, the narrowing strait is clearly visible, flanked by the Malaysian coast to the east and Sumatra to the west. The shipping lanes below remain among the busiest in the world.