Battle of Ulundi
King Cetshwayo sent a hundred white oxen from his own herd and the sword of the dead Prince Imperial of France. He sent envoys bearing elephant tusks. He offered peace, again and again, as the British army crept closer to his capital at Ulundi through June 1879. Lord Chelmsford rejected every overture. The commander who had been humiliated at Isandlwana five months earlier had one objective left: a decisive victory before his replacement, Sir Garnet Wolseley, could reach the front and strip him of command. Chelmsford ignored direct orders from Wolseley, dismissed Cetshwayo's peace offerings, and on 4 July 1879, marched his army into the Mahlabathini plain to finish the war on his own terms. The resulting battle lasted barely thirty minutes, but it ended the Zulu Kingdom.
A Commander Racing the Clock
Chelmsford's second invasion of Zululand was less a military campaign than a personal redemption project. After the catastrophe at Isandlwana, reinforcements had flooded into Natal - 25,000 troops, including two cavalry regiments, five artillery batteries, twelve infantry battalions, and the British Army's first-ever Gatling gun battery. The lumbering supply train stretched across the landscape: 600 wagons, 8,000 oxen, 1,000 mules. But by mid-June, Chelmsford knew his time was running out. Wolseley had been sent to supersede his command, and urgent cables ordered him to 'submit and subordinate' his plans. Chelmsford ignored them. On 28 June, with his column just seventeen miles from Ulundi and Wolseley still riding north from Durban, he pushed forward. An irate telegram from Wolseley on 30 June demanded he cease operations. Chelmsford, with five miles between himself and the Zulu capital, pretended he had not received it.
The Peace That Nobody Wanted
Cetshwayo was desperate to avoid the battle that Chelmsford was desperate to fight. The Zulu king had watched his army bleed at Kambula and Gingindlovu after the triumph at Isandlwana, and he understood that a second British invasion, on this scale, could not be stopped in the open field. His envoys appeared repeatedly at the British lines carrying cattle and promises. But Chelmsford's terms were deliberately impossible - he demanded that an entire Zulu regiment surrender, knowing no regiment would consent to such humiliation while the enemy stood in sight of the royal kraal. The umCijo regiment, guarding the approaches to the White Umfolozi River, intercepted Cetshwayo's final peace offering of oxen and refused to let them pass, seeing the gesture as futile. The Zulu warriors could see the redcoats from their positions. Fighting was inevitable, and both sides knew it - one because it chose war, the other because war had been chosen for it.
The Hollow Square
Chelmsford had learned from Isandlwana. On the morning of 4 July, his infantry formed a massive hollow square - four ranks deep on each side, cavalry screening the flanks, artillery and Gatling guns at the corners. The formation advanced across the Mahlabathini plain toward oNdini, a deliberate provocation designed to draw the Zulu into attacking where concentrated firepower could hit from all sides. Colonel Buller's reconnaissance the previous day had already sprung an ambush: 3,000 warriors rose from the long grass near the Mbilane stream, killing three troopers before Buller's alertness saved the rest. The Zulu wanted to fight, and Chelmsford was happy to oblige - on ground of his choosing, in a formation designed to prevent exactly the flanking manoeuvre that had destroyed his camp in January.
Thirty Minutes at oNdini
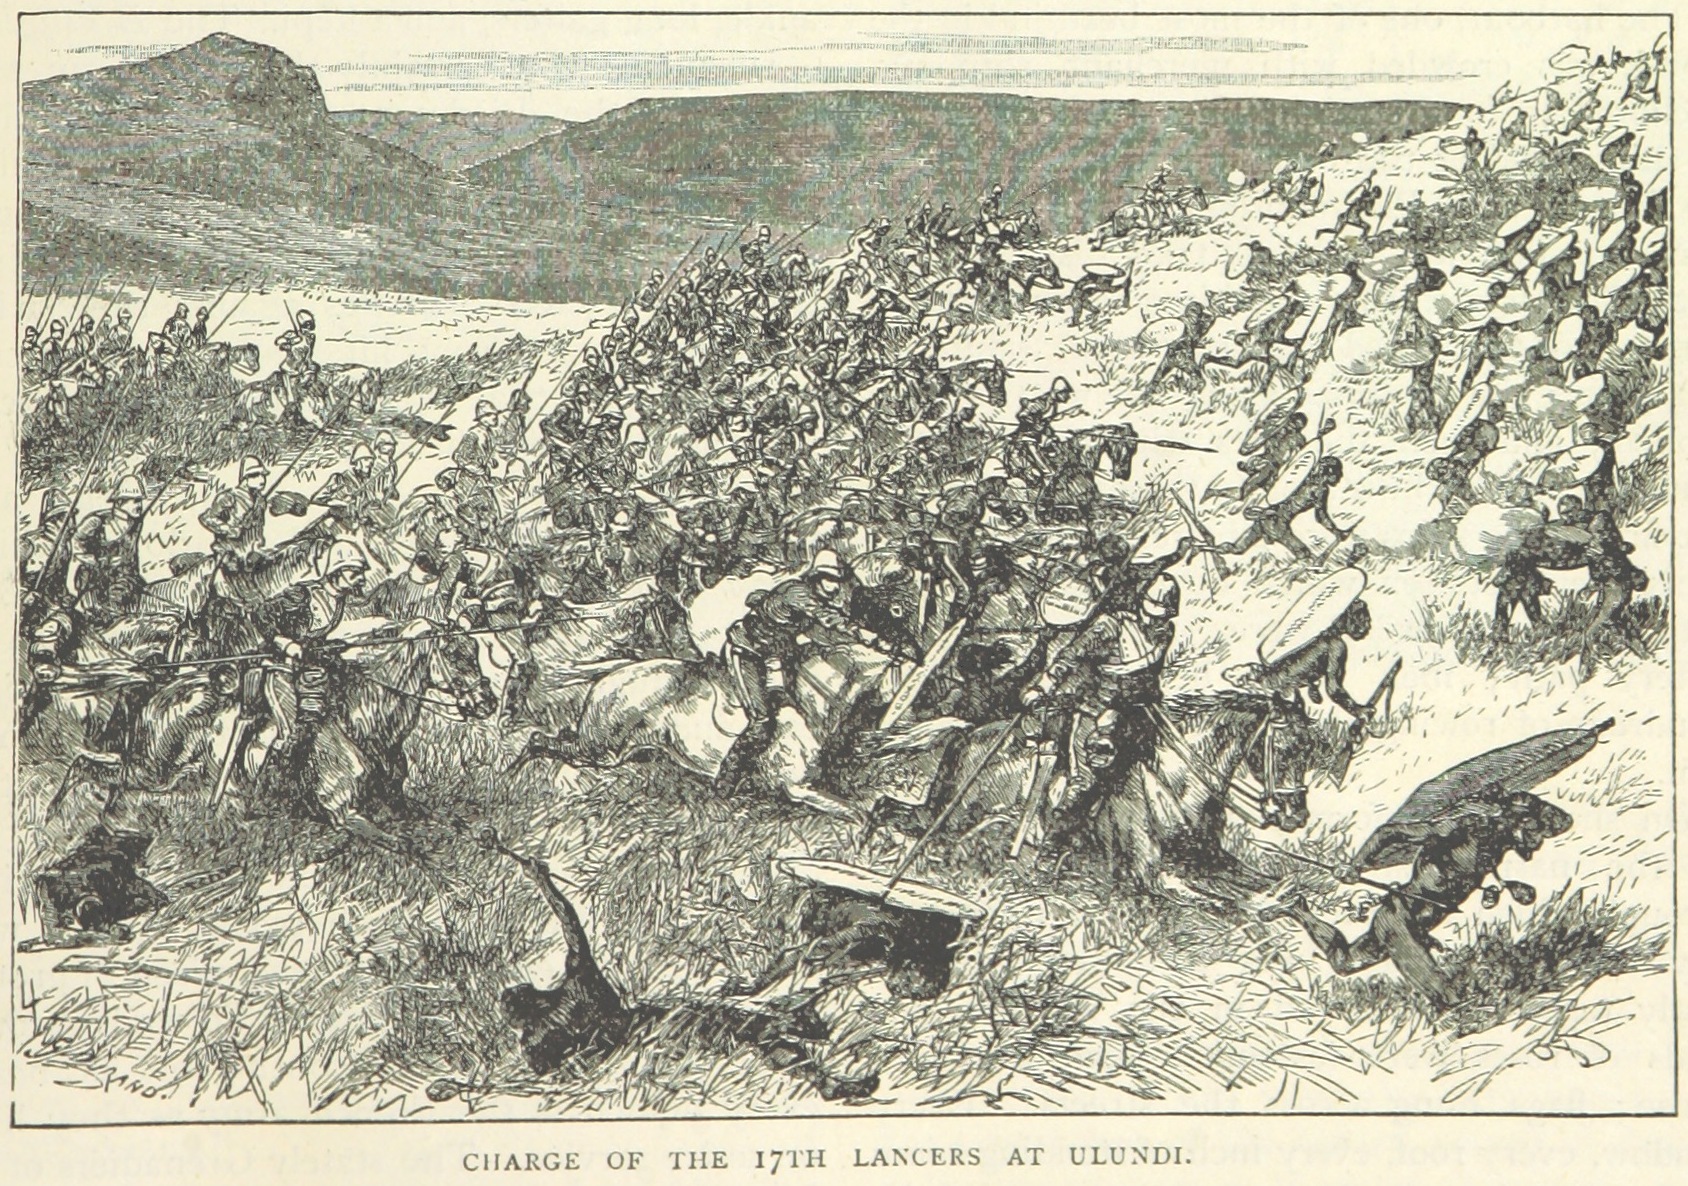
The Zulu army attacked with the same courage it had shown at Isandlwana, but into utterly different circumstances. Warriors charged across open ground into rifle fire from four directions, backed by artillery and Gatling guns. The hollow square held firm - no flank could be turned, no gap exploited. In places, warriors got close enough to hurl spears at the ranks, but the volume of fire was too great. Within half an hour the attack had broken. The 17th Lancers and 1st King's Dragoon Guards swept across the plain in pursuit. British casualties were light; the Zulu losses devastating. Chelmsford's men advanced on oNdini and burned Cetshwayo's royal kraal to the ground. The smoke rose over the Mahlabathini plain as the Zulu Kingdom, a sovereign nation that had existed for more than sixty years, effectively ceased to exist.
The Ashes of a Kingdom
Cetshwayo fled and was captured in August 1879. The British divided his kingdom into thirteen chieftaincies, a deliberate fragmentation designed to prevent any resurgence of centralized Zulu power. It worked. Civil wars followed, and by the time Cetshwayo was briefly restored to a diminished throne in 1883, his kingdom was a shadow. He died the following year. Today the site of Ulundi lies in the heart of KwaZulu-Natal, near the modern town that bears the old capital's name. The battlefield on the Mahlabathini plain is quieter than Isandlwana or Rorke's Drift - fewer tourists make the journey. But the story it tells is arguably the most consequential of the war. Isandlwana showed that an indigenous army could defeat a European imperial force. Ulundi showed that the empire would simply send more soldiers until it won. The burned remains of oNdini, rebuilt as a museum, stand as a reminder that Cetshwayo sought peace repeatedly before this final battle, and that the destruction of his capital was driven less by military necessity than by one general's need to salvage his career before his replacement could arrive.
From the Air
Located at 28.32S, 31.42E on the Mahlabathini plain in KwaZulu-Natal, South Africa. The battlefield is on open, relatively flat grassland near the White Umfolozi River. The reconstructed royal kraal of oNdini (KwaZulu Cultural Museum) is a visible landmark. The modern town of Ulundi lies nearby with its own airfield, Ulundi Airport (FAUL), the closest landing facility. Richards Bay (FARB) is approximately 150km southeast; King Shaka International, Durban (FALE) approximately 250km south. Elevation approximately 500m ASL. The Mahlabathini plain offers excellent visibility in clear conditions, with the rolling hills of Zululand surrounding the flat battlefield area.