Invasion of the Cape Colony
The Cape Colony in 1795 was a paradox: economically insignificant but strategically irreplaceable. Situated at the tip of Africa, it was the only viable resupply port between Rio de Janeiro and British India, a lone harbor on the long sea road to the East Indies. When French revolutionary troops overran the Netherlands in the winter of 1794 and transformed the Dutch Republic into the Batavian Republic, Britain saw an opportunity -- and a threat. Whoever controlled the Cape controlled the route east. What followed was a brisk military expedition that changed the course of southern African history, though it began as a sideshow in a European war and was fought on land that the Khoikhoi and San peoples had inhabited for millennia before any European ship rounded the headlands.
A Port Between Empires
The Dutch East India Company had established the Cape Colony in the seventeenth century as a waystation for its merchant fleets. By the 1790s, the settlement was administered from two towns: Cape Town, facing westward onto the broad sweep of Table Bay, and the smaller Simon's Town on False Bay to the southeast. Neither harbor offered reliable shelter from Atlantic storms. Winds, currents, and submerged rocks made both approaches dangerous, and ships anchoring here did so out of necessity rather than comfort. The colony's garrison numbered about 3,600, a mix of roughly 1,000 regular VOC troops, Boer commandos, and the Pandour Corps. They operated from the Castle of Good Hope and a series of coastal batteries that protected Table Bay. False Bay, by contrast, was defended by just two lightly armed positions -- a vulnerability the British would soon exploit.
The Kew Letters and the Fleet
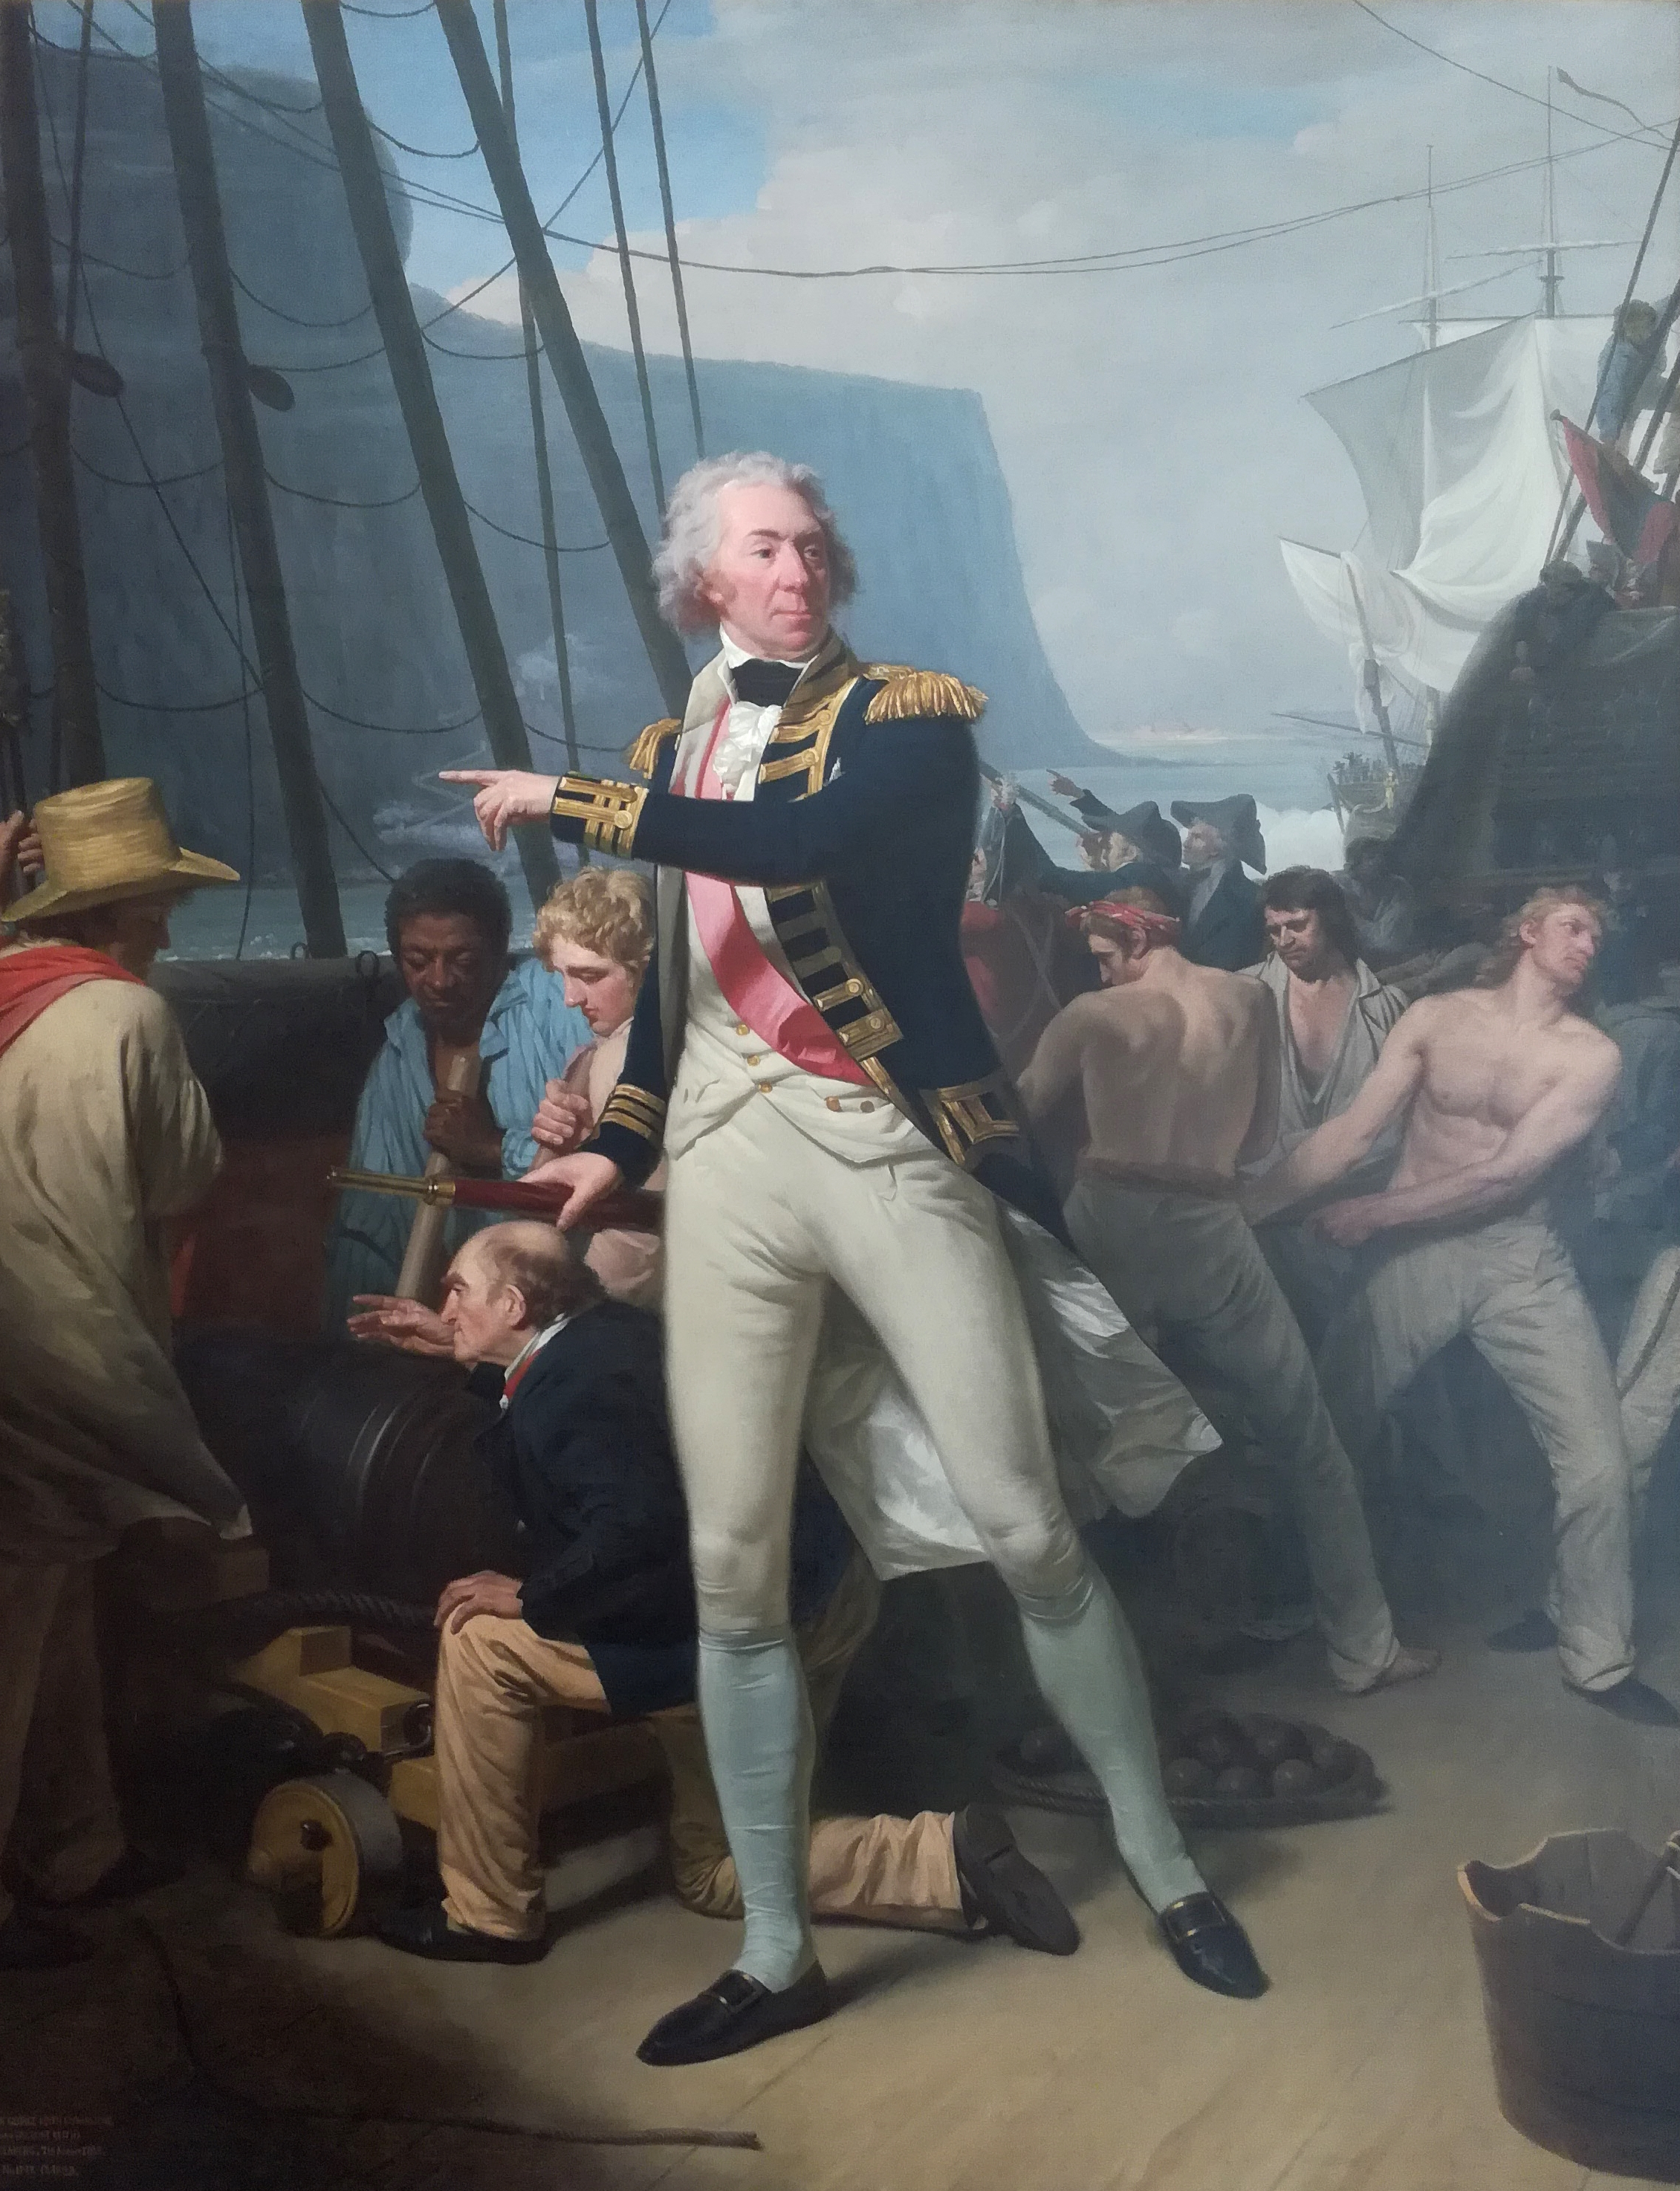
After fleeing to Britain, the deposed Stadtholder William of Orange issued the Kew Letters, instructing Dutch colonial governors to cooperate with British forces rather than let their territories fall under French revolutionary influence. At the urging of Sir Francis Baring, Secretary of State for War Henry Dundas authorized an expedition to secure the Cape. On 3 April 1795, two squadrons sailed: one under Vice-Admiral Sir George Elphinstone, the other under Commodore John Blankett. They carried 515 soldiers of the 78th Regiment of Foot under Major-General Sir James Henry Craig. A larger reinforcement under General Alured Clarke followed in May, with orders to wait at Salvador in Brazil until summoned. The mission was designed to be swift -- a diplomatic overture backed by enough firepower to make refusal impractical.
The Battle at Muizenberg
Elphinstone and Blankett united off the Cape on 10 June 1795 and anchored in Simon's Bay. Messages were sent to Dutch Governor Abraham Josias Sluysken, offering an alliance against France. Sluysken chose to resist. He evacuated Simon's Town's civilians and prepared to destroy the settlement rather than let it serve as a British base. Craig preempted him by landing 800 soldiers and Royal Marines on 14 July. A brief but sharp engagement was fought at Muizenberg on 7 August, and skirmishing continued through the following weeks along the coastal strip between the mountains and the sea. British warships blockaded Cape Town from the water while ground forces pressed from the south. Outnumbered and surrounded, Sluysken requested a 48-hour truce but was given only 24 hours. On 15 September 1795, he surrendered the colony -- though not before allowing roughly 40 British deserters, mostly impressed Americans, to slip away into the countryside.
Surrender Without a Shot
British losses in the entire campaign amounted to four killed and 54 wounded -- numbers that speak less to superior fighting than to the imbalance of forces. Elphinstone kept a substantial squadron at the Cape to deter any attempt to retake the colony. When the Batavian Republic did send a relief squadron under Rear-Admiral Engelbertus Lucas almost a year later, the outcome was anticlimactic. Lucas spent six months on the passage and gathered no intelligence about British strength. Arriving at Saldanha Bay, he found Elphinstone waiting with an overwhelming force. The Dutch surrendered without firing a shot. Elphinstone returned to Britain and received a peerage -- Baron Keith -- for a campaign that historian C. Northcote Parkinson called, with characteristic dryness, "on the whole, easily earned."
The Colony That Changed Hands Twice
The Peace of Amiens in 1802 returned the Cape Colony to the Batavian Republic, along with most other captured Dutch territories except Ceylon. The peace lasted barely a year. When the Napoleonic Wars erupted in 1803, Britain planned a second invasion, which was executed in 1806 and secured after the Battle of Blaauwberg, fought on the sandy flats north of Cape Town. This time, the British did not leave. The Cape Colony would remain under the British crown for more than a century, until the formation of the Union of South Africa in 1910. Today the site of the original battle at Muizenberg sits along a suburban coastal road, the mountain slopes above it dotted with houses. The strategic imperatives that brought European navies to these waters have long since shifted, but the landscape they fought over -- the curve of False Bay, the flat-topped mass of Table Mountain -- remains exactly as it was.
From the Air
The Battle of Muizenberg took place along False Bay's western shore at approximately 34.11°S, 18.47°E. Simon's Town (34.19°S, 18.44°E) sits on the bay's western edge, with the naval base still visible from the air. Table Bay and Cape Town are visible to the northwest. Nearest airport: Cape Town International (FACT). Best viewed at 3,000-5,000 ft AGL following the M4 coastal road south from Muizenberg to Simon's Town. The Castle of Good Hope is visible near the Cape Town city center.