Relief of Ladysmith
On 15 November 1899, a Boer raiding party ambushed an armoured train at Chieveley, eleven kilometres south of Colenso, and took 70 prisoners. Among them was Winston Churchill, war correspondent for the Morning Post, who would escape captivity a month later and ride the story to fame and a seat in Parliament. The ambush was a sideshow in a much larger drama: General Sir Redvers Buller's agonizing, months-long campaign to cross the Tugela River and relieve the besieged garrison at Ladysmith. It would take four separate offensives, cost thousands of casualties, and redefine what the British army thought it knew about modern warfare.
The River Between
The Colony of Natal was split by the Tugela River, flowing east from the Drakensberg to the Indian Ocean. The railway connecting Durban to Johannesburg crossed the river at Colenso, and Ladysmith lay in a hollow on the Klip River about 20 kilometres to the north. When the Boers surrounded Ladysmith on 2 November 1899, trapping some 8,000 British regulars under General Sir George White, the Tugela became the front line. Boer forces under Louis Botha -- who had assumed command after Piet Joubert was incapacitated in a riding accident -- dug in along the river's northern bank, blocking every crossing. Upstream, the hills overlooking the Tugela continued only on the northern bank; the southern side was relatively flat plain. This asymmetry gave the Boers a devastating advantage: they could fire down on any British force attempting to cross, while themselves remaining sheltered behind ridgelines.
Black Week and Colenso
Buller arrived in Cape Town with reinforcements but found his forces scattered across three fronts. Detaching troops under Lord Methuen and Gatacre to the western and central theaters, he took personal command in Natal, assembling 20,000 men at Frere by mid-December. His first attempt to cross the Tugela came on 15 December at Colenso. It was a fiasco on three fronts simultaneously. On the left, the Irish Brigade was led to the wrong ford by a guide who spoke no English and marched into a loop of the river where Boer marksmen inflicted over 500 casualties. In the center, Colonel Long pushed his field guns so far ahead of the infantry that they were within rifle range of Boer trenches; the gunners fought until their ammunition was exhausted, then abandoned ten guns. On the right, British light horse were pinned at the foot of Hlangwane hill. The British lost 143 killed, 756 wounded, and 220 captured. Boer losses were eight dead and 30 wounded. Coming after defeats at Stormberg and Magersfontein the same week, the disaster entered British memory as Black Week.
Spion Kop and Vaal Krantz
A week after Colenso, Buller was replaced as Commander-in-Chief by Lord Roberts, though he retained command in Natal. Reinforced to 30,000 men by the arrival of Sir Charles Warren's division, Buller attempted to outflank the Boer positions by crossing the Tugela upstream at Potgieter's Drift. The result was the Battle of Spion Kop in late January 1900 -- another catastrophe. British troops seized the hilltop in darkness but found at dawn that they could not entrench in the rocky ground and were exposed to Boer fire from multiple surrounding heights. The position became untenable and was abandoned. Buller's third attempt, at Vaal Krantz in early February, ended in another repulse. Three offensives, three failures. The garrison at Ladysmith had now been under siege for nearly three months, with disease killing more soldiers than Boer shells.
Breaking the Heights
For his fourth attempt, Buller returned to Colenso -- but this time with a plan built on hard lessons. The Battle of the Tugela Heights, fought from 14 to 27 February, unfolded in deliberate phases. First, the British seized the hills of Monte Cristo on the south bank, five kilometres west of Colenso, outflanking the Boer position on Hlangwane. Under heavy bombardment, the Boers abandoned Hlangwane and withdrew north of the river. On 21 February, British engineers built a pontoon bridge, enabling infantry to take Railway Hill and Wynne's Hill. When frontal assaults on Hart's Hill stalled, Buller made the move that decided the campaign: on 25 February, he shifted the pontoon bridge downstream to the mouth of the Tugela gorge, where troops could cross unseen. Two days later, the British stormed both Pieters Hill and Hart's Hill. The Boer line broke.
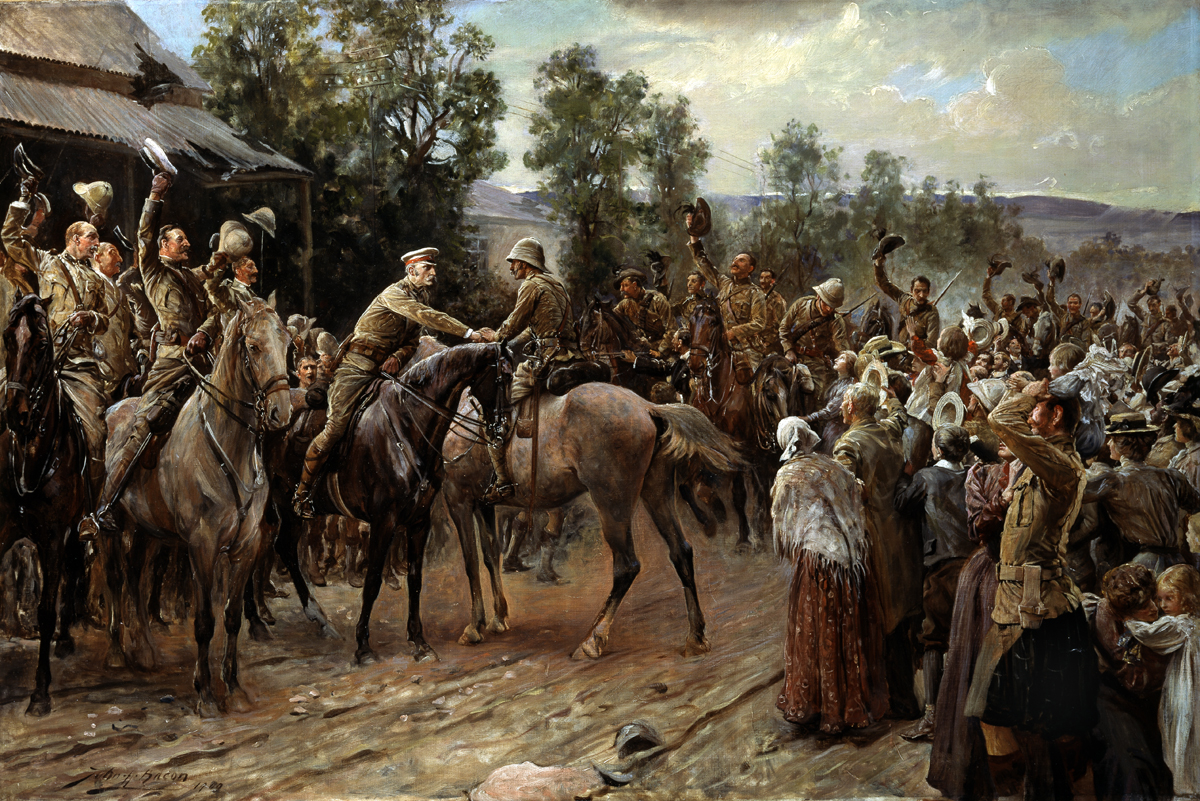
Churchill Rides In
On 28 February, Boer commanders ordered a general withdrawal to the Biggarsberg, 45 kilometres north of Ladysmith. The retreat was disorganized but the British, exhausted from two weeks of fighting, were ordered not to pursue. Lord Dundonald's cavalry, with Churchill riding beside him, entered Ladysmith on the afternoon of 1 March 1900. The same week saw the war's momentum shift across South Africa: Kimberley had been relieved on 15 February, Cronje surrendered at Paardeberg on 27 February, and Roberts would capture Bloemfontein within two weeks. Buller still had work to do -- the mountain passes between Natal and the Orange Free State were not secured until 11 June -- but the siege was over. The relief had cost four battles, roughly ten weeks, and thousands of British and Boer casualties to cross a river that, in dry season, a man could wade. Joubert, the Boer commander who had laid the siege, died on 28 March 1900 from injuries sustained falling from his horse during the campaign. He never saw its end.
From the Air
The relief campaign played out along the Tugela River corridor south of Ladysmith, centered near Colenso (28.73S, 29.82E) in KwaZulu-Natal. From the air, the Tugela's winding course and the hills on its northern bank are clearly visible -- the heights that Buller's men had to storm. Ladysmith (28.56S, 29.78E) lies about 20 km to the north. Spion Kop is visible as a prominent flat-topped hill further upstream to the west. The Drakensberg escarpment forms the dramatic western horizon. Nearest airports: Ladysmith (FALY) and Pietermaritzburg (FAPM). Best viewed at 5,000-10,000 ft AGL to see the full river corridor and the relationship between the crossing points, the heights, and the besieged town.